Decorated Christmas Envelopes

I spent at least as much time addressing and decorating envelopes this year as I did making cards. It would be much more efficient to pick a style and work with it but I love to experiment with different designs.

I had more fun experimenting with embossing powder on some light blue envelopes. I used the asterisk from a set of alphabet stamps to look like snowflakes and then embossed them. I realized I could also put embossing powder on wet ink so I want to experiment some more with that. The calligraphy was done with walnut ink using a Tachikawa G nib.

I used my white Uni-ball Signo Broad gel pen to draw banners and a modern versal on coloured envelopes.

I had some envelopes I knew wouldn’t work for calligraphy so I had fun making a striped design. I have tried this in the past with a smaller envelope where I used a little tag as the mask and only wrote the name on it with the address written between the lines. I had more space on these ones so I put the whole address on the tag shape.  After making the first one, I put the stripes on a diagonal and added a thin green line with a Zebra Doodler’z glitter gel pen to give it more of a candy cane look. I used an old Mr. Sketch scented watercolor marker (“cherry”) with chisel tip. Mr. Sketch is a favourite of flipchart users and pre-schoolers. They last a long time (I’ve had mine for over 10 years) but you need to be careful because they do smear.

The Christmas decorations were inspired by one of the cards I shared in my last post. They are just painted with watercolour and addressed using a glitter gel pen. 

The tree on the green envelope was painted with Finetec watercolours and the lettering was done with my DecoColor Calligraphy paint marker. Unfortunately, the paint mark started to dry up (the metallic ones never seem to last long) so I highlighted the letters with a glitter gel pen.

On this envelope I did Art Deco style lettering using my Jinhao 992 fountain pen loaded with Pelikan Edelstein Star Ruby ink (this ink is definitely on the pinker side of red).

The triangle tree with writing is a pretty simple concept. I drew it with a pencil and then went over it with Zebra Doodler’z glitter gel pens (I have used them a lot this year).

I found a wax seal with a holly design at the Edmonton ReUse Centre earlier this year so sealed some coloured envelopes with white wax. I never seem to be able to make perfect round seals. I coloured in the holly design with markers afterwards.

If these envelopes were people, they would be a group of carolers who may not always sing in harmony but their message is heartfelt – enjoy your holiday in way that brings you happiness!

Calligraphy based on a Happy Ever Crafter design.

Scrap Card

Regular readers of this blog know, whether it is folding an envelope out of an old calendar page or making a notebook out of old paper and product packaging, I love to re-purpose material. I recently made a cute card out of a soap box, some scraps of cardstock, and a Stampin’ Up stamp. Although I know it won’t make a significant difference in reducing the amount of garbage our society produces, I love the creativity in looking at things I would otherwise discard and making something fun out of them.

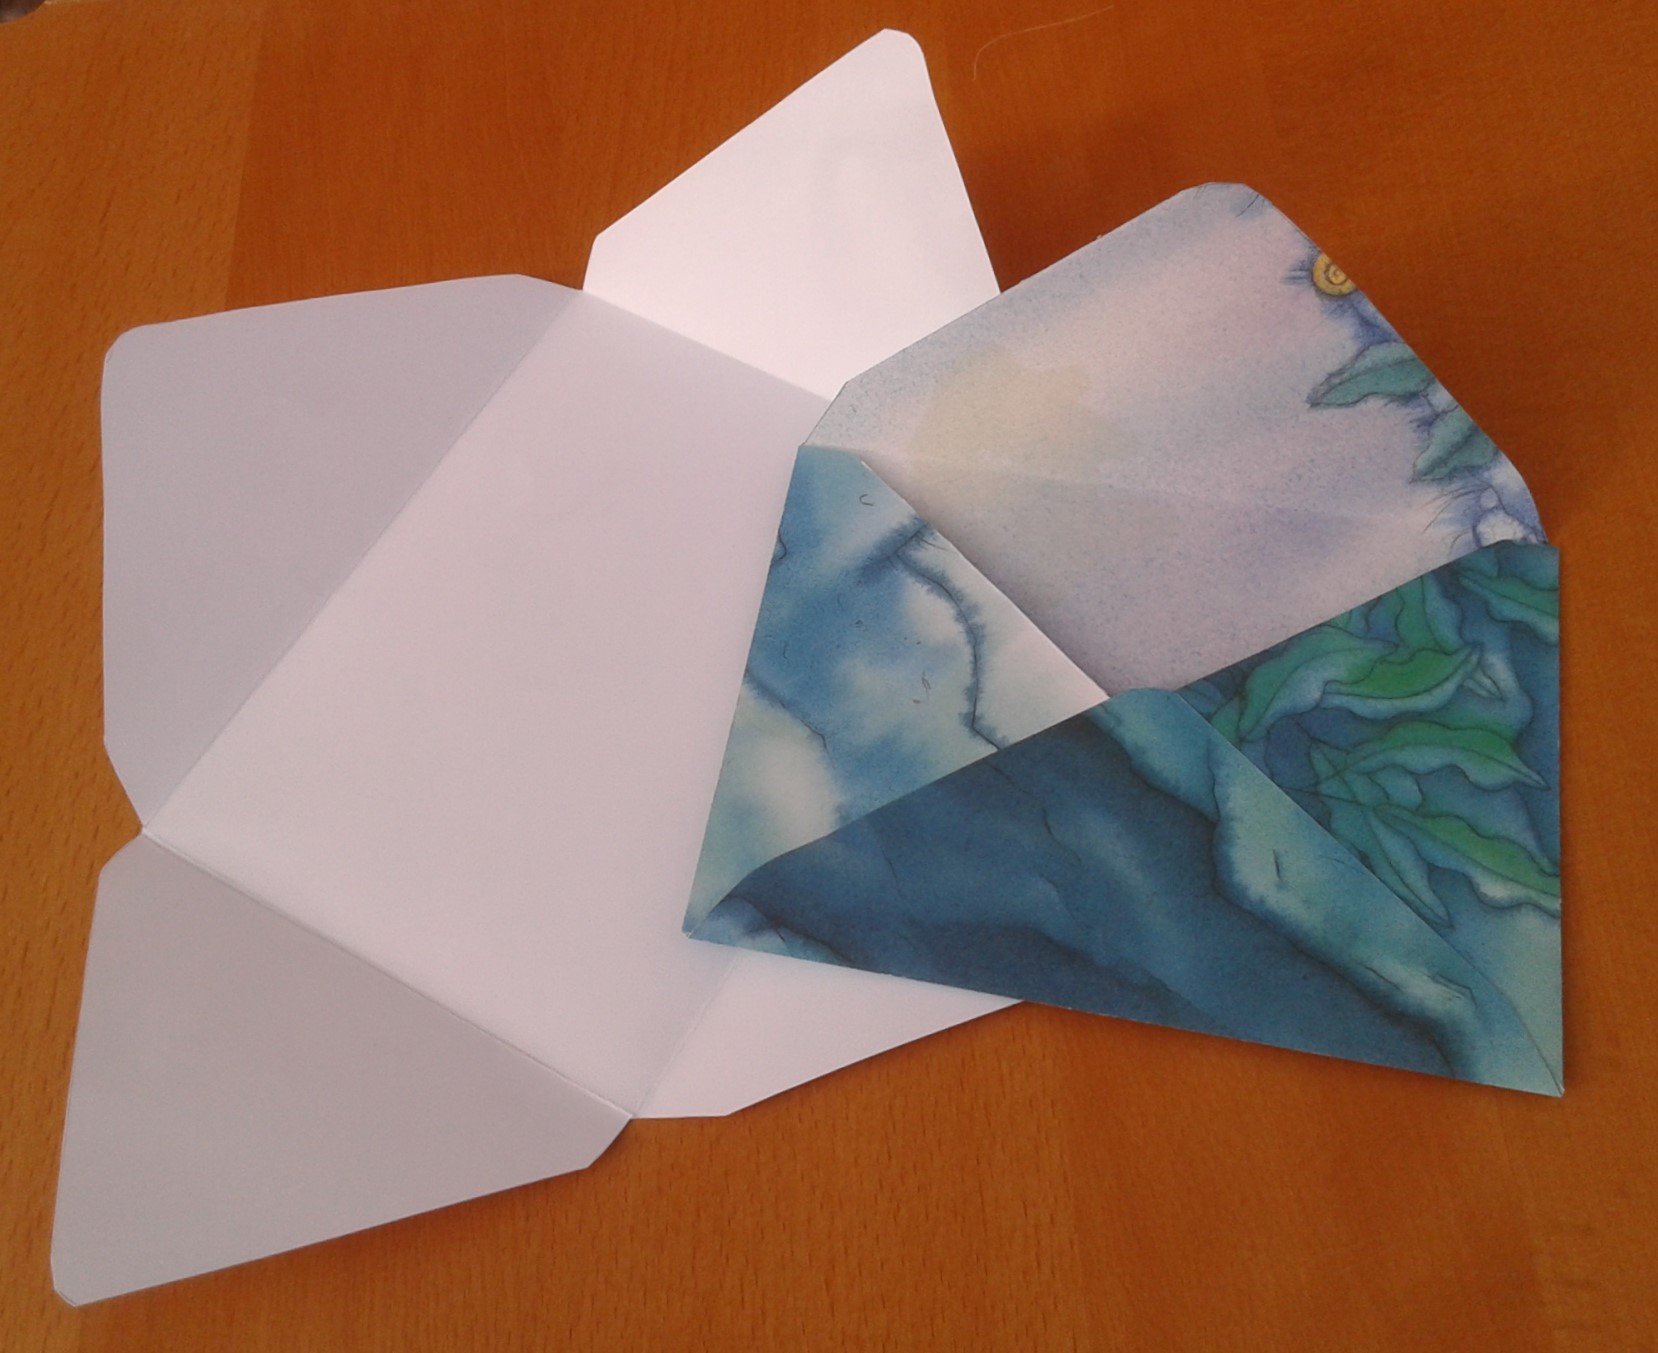
The envelope is made out of a used children’s activity book using an old envelope as a template.

If this card were a person, they would be all into reduce, reuse, and mend.

Decorated Envelopes

Social distancing dosesn’t mean social isolation and as there is no evidence COVID-19 is spread through the mail, now is a good time to put an encouraging note in a decorated envelope and send it to a friend.

Lately, I have been playing around with a few ideas to embellish the mail I’m sending. First, you can draw a simple picture on an envelope and incorporate the address into the design. You don’t need fancy pens to make these. The birthday cake design was drawn with Crayola markers. In the past, I used my paint set to paint pumpkins on envelopes for Halloween cards.

Another idea is to make your own envelopes out of recycled paper. I’ve recently used patterned paper like old maps and calendar pages. Just keep in mind busy designs necessitate the use of labels to keep the address legible.  Since I didn’t actually need to mail the calendar page one, I placed a piece of paper with the name of the recipient over some distracting writing instead of centering it (the name was written in the same style as last year’s Easter greeting). You can be resourceful in finding paper to use. One year I used old sketchbook pages for envelopes for Halloween cards.

If you don’t feel up to either drawing on an envelope or making one yourself, you can always recycle one of those return envelopes that are sometimes enclosed with a bill or donation appeal. Just cover the writing on it with scraps of decorative paper and, voila, you have an interesting envelope. This one was labeled with rub-on transfer letters (I love using these for addressing envelopes).

I’m not sure if what I’ve come up with could really be described as mail art, but it does follow in the tradition of using the postal service to share creative work.

If decorated envelopes were people, they would be ingenious spies infiltrating the postal system but they are not there to gather intelligence, they are there to spread joy.